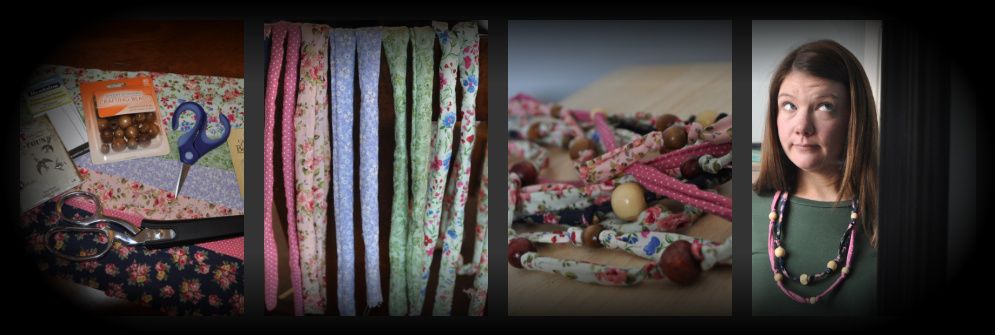
I've mentioned before I'm a self proclaimed craft hoarder, right? Well, one of the supplies I seem to have in abundance is fabric, but not fabric by the yard...bits and pieces in strange shapes. I cant even remember what I must have made to leave these shapes behind. Either way, I found something to do with them and decided to share.

Start by getting all your supplies together. An important thing to remember when picking the beads out is to make sure that the holes will be wide enough to allow the fabric to pass through. At Michael's they sell these heavy duty wire needles from Beadalon (in the jewelry section )with a large eye that I bought to make it easier to bring the fabric through the bead.

Make strips of fabric approximately 1" wide. I was lucky as most of my scraps were on the longer side, but there were a few that I needed to piece together to make longer. Do this by facing the two wrong sides together and stitching a single line down the width of the fabric. No need to back stitch as you will be sewing over them later on. Use your judgment as to how long you would like the necklace to be. Mine were all various lengths as I wanted to wear a few at a time with a layered look.
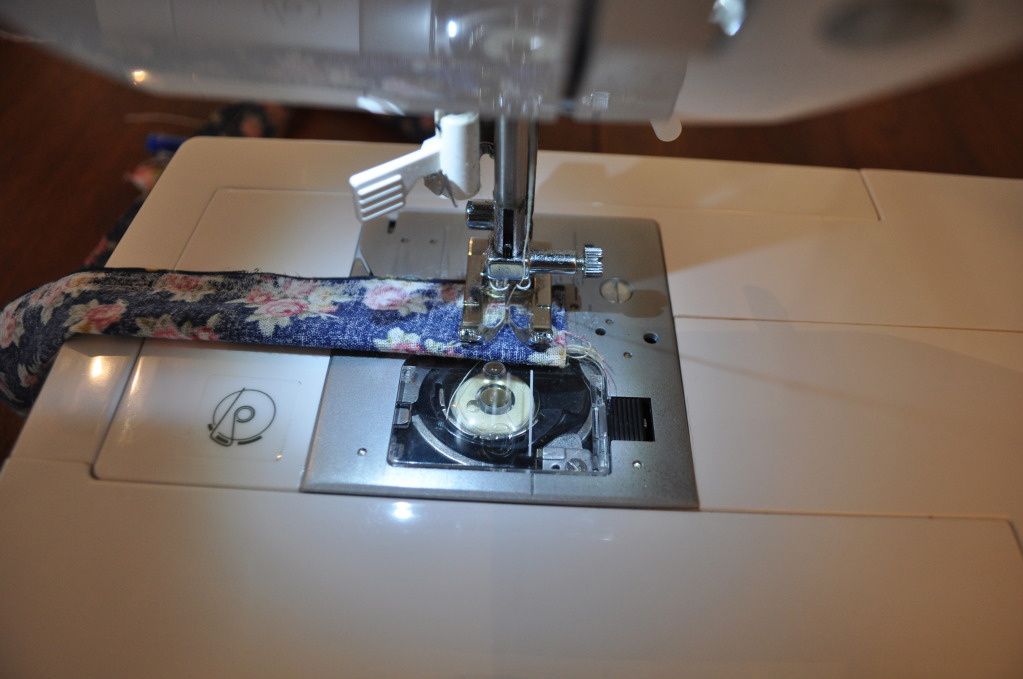
Once you have all your fabric cut into strips, fold in half lengthwise with the two right sides facing each other. Stitch down the long end of your fabric strip.

When you reach the end of the fabric strip, lift up the foot and turn to stitch to the end.
You dont need to complete this step as you will cut it off later on, but it does make it easier to turn them inside out.

After your finished sewing, turn the strips inside out. I just used a pen for this, nothing fancy needed!

After your finished, all your strips should look like this:

Attach one of the wire needles to the end of the fabric strip. Do this by taking the point of the needled and inserting it through both sides of the strip. Once you do that, pass it back through the eye. Don't pull it too tight as it might snap off (as I learned!)

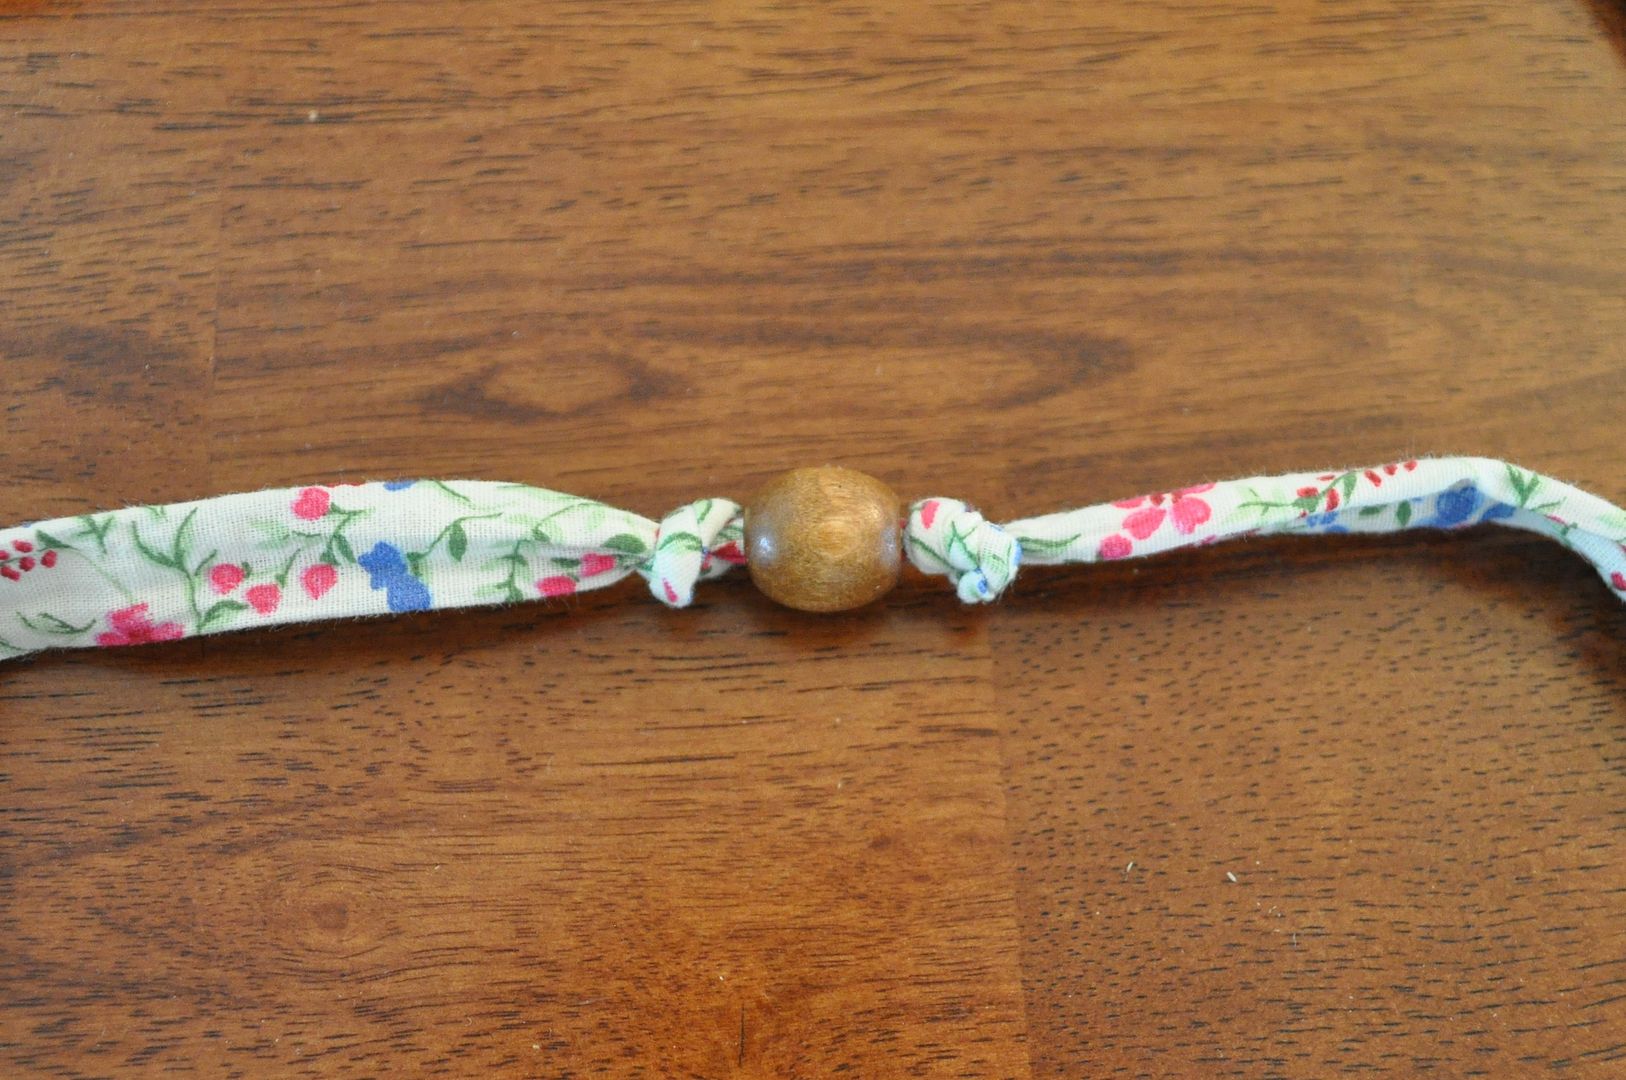
Once the needle is on, start adding your beads. I chose to knot on each side of a bead but this isnt necessary unless the hole of your beads is so wide that they could move around.

Place the beads where ever you want and add as many as you want. I placed them in random spots all along the fabric strip.
If you have a fabric strip that was sewn together to get your desired length, you may find it hard to get the bead over the seam. In these instances, this is where I cut off the top of the fabric strip that I sewed across (the seam you made to make the pen easier to turn the strip inside out). I inserted another needle on this side and added beads.
Once you are finished adding the beads, take the ends and place one edge on top of the other and sew them together.

And your finished!

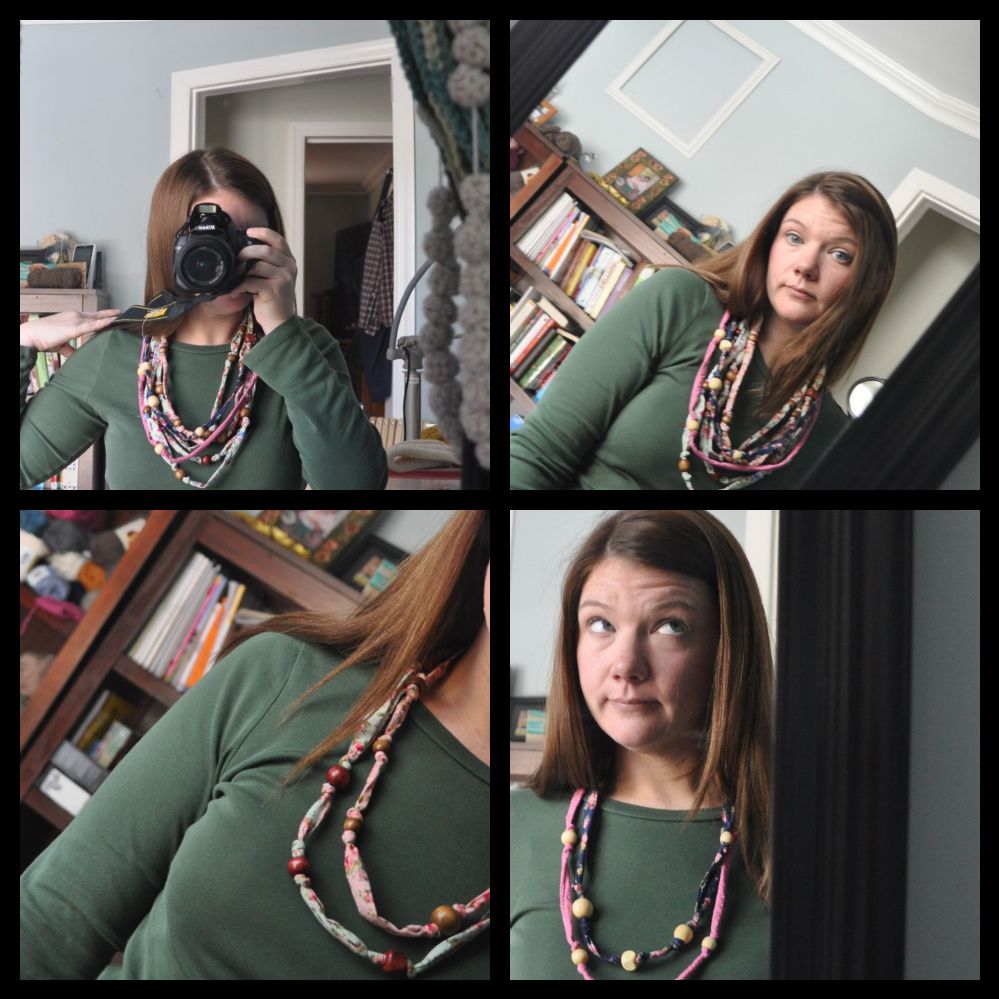
I was happy the way these came out. Even tried to take some self portraits with them on. Think I need to work on the self portrait things.


YAY! You did a great job of "linking" me to your blog! I love this necklace! So cute! How cool that you can wear lots or a few. :) P.S. I love your self-portraits! You should check out this tutorial by Little Miss Momma! She gives some super fun tips for taking pics of yourself! :)
ReplyDeleteAnother fun creative idea! I love all your photos, the one with the thought bubble made me laugh out loud. =)
ReplyDelete